

ZESTAW NAPRAWCZY DO FELG
![]()
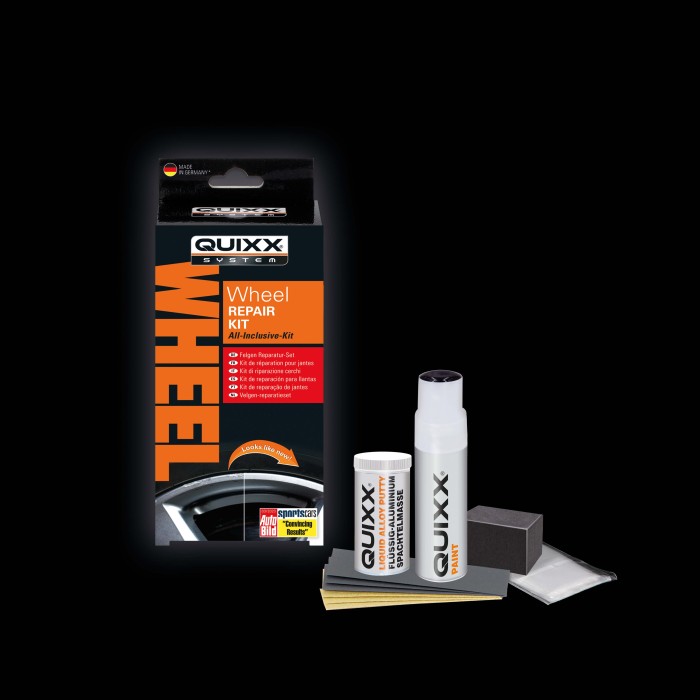
Dzięki zestawowi naprawczemu do felg QUIXX i jego innowacyjnej technologii QUIXX Liquid Aluminium można szybko naprawiać uszkodzenia felg. Zarysowania, a nawet drobne wykruszenia w feldze można łatwo usuwać: kształt felgi można perfekcyjnie wymodelować, a następnie uszkodzone miejsce pomalować sztyftem z zestawu.
Szczegółowe informacje o produkcie:
- System 2-składnikowy
- Trwałe przywracanie wyglądu felg dzięki wypełnieniu uszkodzeń
- Masa naprawcza łączy się harmonijnie i trwale z aluminiowym materiałem felg
- Zastępuje drogie naprawy i pomaga utrzymać wartość
- Efekty o profesjonalnej jakości
- Szybkie rozpoczęcie: Zestaw all-inclusive zawiera wszystkie przybory potrzebne do naprawy.
- Zawartość: 1 wypełniacz naprawczy „płynne aluminium”, 1 lakier do felg, papier ścierny o ziarnistości 100 i 600, 1 kostka szlifierska, 1 para rękawiczek
 Jetzt auf amazon kaufen
 How to do!
Even the layman can repair smaller scratches and damages in aluminium rims in just a few steps with the QUIXX Wheel Repair Kit. You can find out how in our Step by Step Repair Guide.
Click your way through the pictures on the right to go through the repair process step by step.
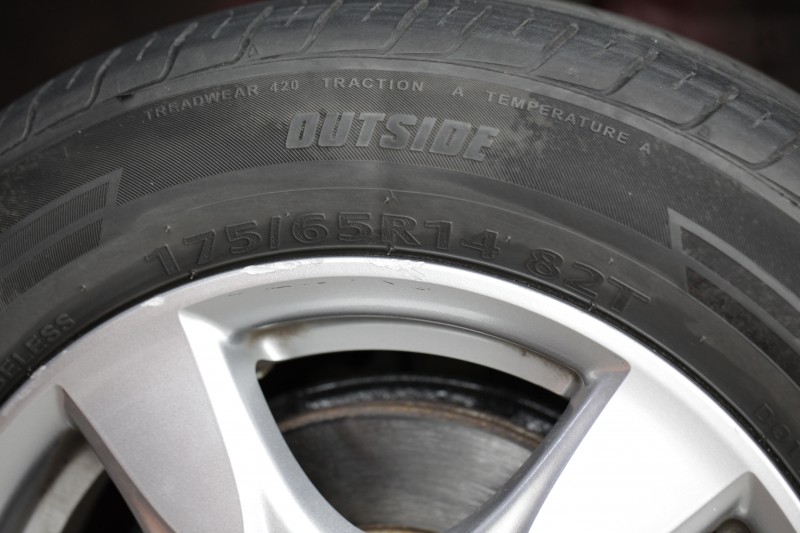
1. First clean the rim thoroughly with a rim cleaner and remove brake dust, dirt, wax, polish, etc. Remove any loose paint and protruding aluminium around the area to be repaired. Carefully apply tape as protection in order to avoid sanding marks on the undamaged areas close to the damaged area.
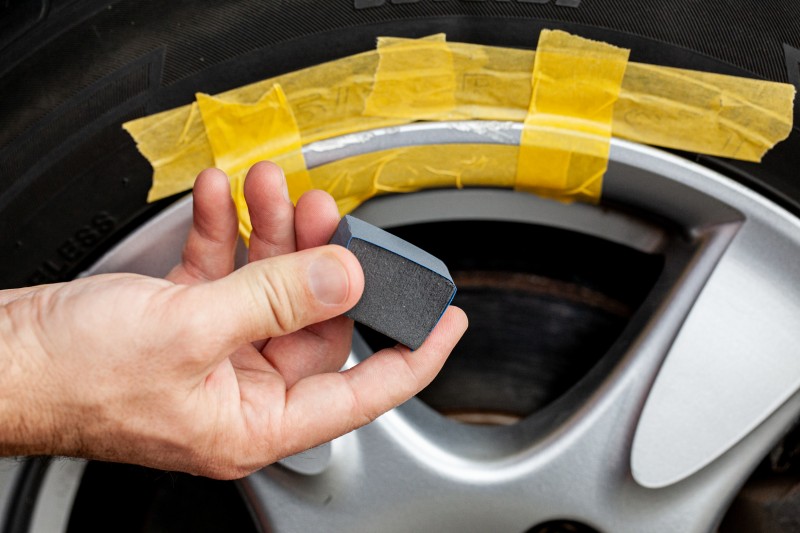
2. Gently treat the damaged area to a smooth finish with the sandpaper (grey, 600 grit) wrapped around the sanding block. Then clean the treated areas with soapy water and dry thoroughly.
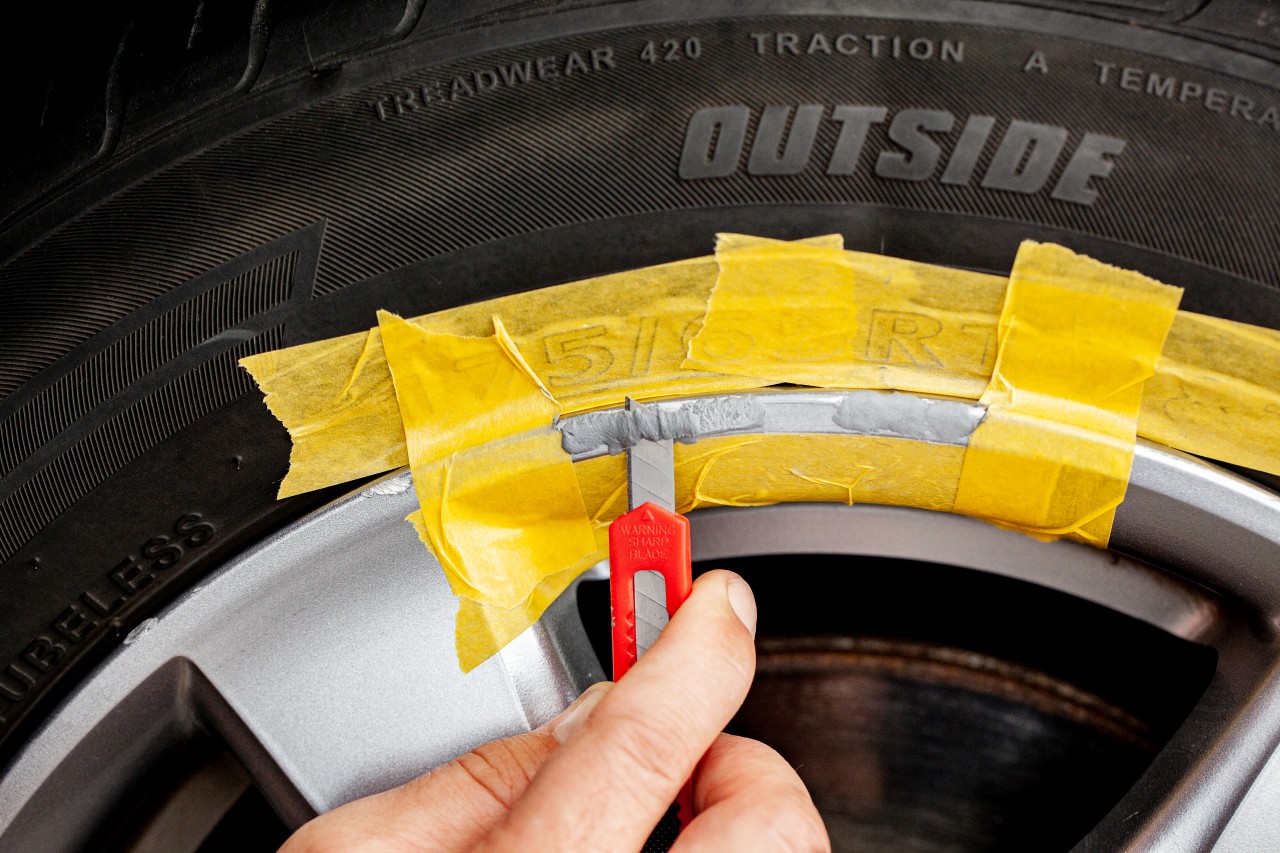
3. Place an appropriate amount of filler on or in the damaged area and model the filler into the shape of the rim with your fingers and the side of the knife blade.
After curing (takes approx. 2 hours), smooth the filler using the sandpaper (grit size 100) until the contour of the repair area perfectly matches the rim. Then with a little water, wet sand using the grey sandpaper (600 grit) to smooth the surface of the repaired area ready for the paint. Wash the rim once again with warm soapy water and rinse thoroughly with clear water to remove all residues. Dry the rim thoroughly.
4. Use a brush to apply a small amount of paint in several thin layers to the area being repaired. Wipe off excess paint as soon as possible with a paper towel for example. Leave the paint to dry for approximately 2 to 3 hours. Then carefully wet sand the varnished area using the sandpaper provided (grey, grain 600).
Small scratches and damage: Before starting the repair, clean the rim thoroughly and then treat the damaged area gently with the sandpaper wrapped around the sanding block (grey, 600 grit). Then treat only the repaired area with the touch-up pen.