

USZWACT RYS Z LAKIERU
![]()
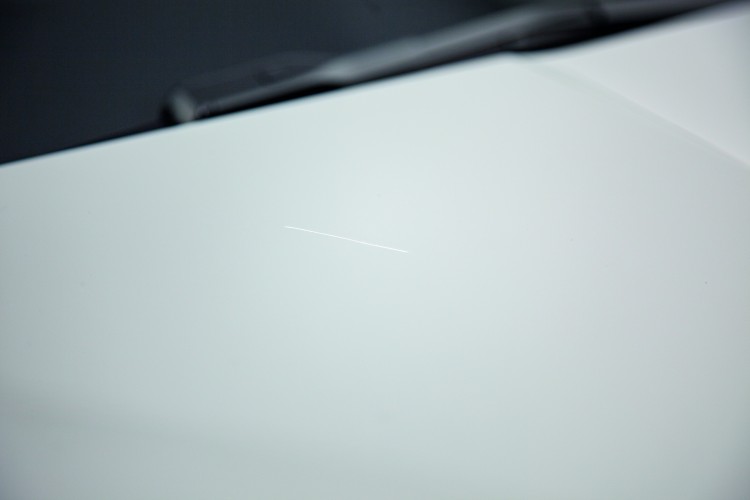
Środek do usuwania zarysowań z lakieru QUIXX szybko, skutecznie i niezawodnie usuwa zarysowania, drobne zadrapania i kolorowe smugi z wszystkich lakierów połyskowych i metalicznych. Nawet zachowując dużą ostrożność, na dłuższą metę nie da się uniknąć zarysowań na lakierze. Jedna chwila nieuwagi i samochód ma kontakt z wózkiem sklepowym. Albo zamek błyskawiczny zadrapał lakier podczas tankowania... Irytujące! Ale to żaden problem dla produktu ze znakiem Dekra.
Szczegółowe informacje o produkcie:
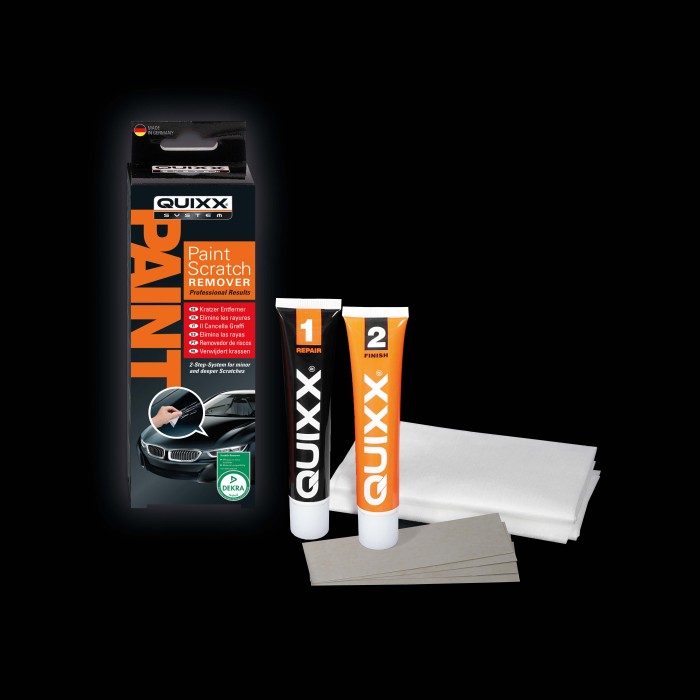
- 2-składnikowy system z pastą ścierną (Repair nr 1) i specjalnym środkiem do polerowania (Finish nr 2)
- Łatwe, szybkie i skuteczne użycie w dwóch etapach
- Efektywność i skuteczność dzięki Plastic-Deformation-Technology (PDT)
- Efekty o profesjonalnej jakości
- Zastępuje drogie naprawy i pomaga utrzymać wartość
- Szybkie rozpoczęcie: Zestaw all-inclusive zawiera wszystkie przybory potrzebne do naprawy.
- Zawartość: Repair nr 1, Finish nr 2, 2 profesjonalne ściereczki do polerowania i papiery ścierne o ziarnistości 3000
 Jetzt auf amazon kaufen
 How to do!
Our Step by Step Repair Guide explains clearly how to remove scratches, minor scrapes and paint marks quickly, effectively and reliably from all gloss and metallic paintwork using our QUIXX Paint scratch remover.
Click your way through the pictures on the right to go through the repair process step by step.
1. Lay out both pastes (Repair No.1) and special polish (Finish No.2), the sandpaper according to its grain size and the white polishing cloths so that they are ready to hand. Also useful is a bowl of water for moistening the sandpaper and some paper towels. First, wash the surface to be treated with a suitable cleaner (such as a mild household cleaner) and dry it thoroughly. For light scratches, start directly with Step 2.
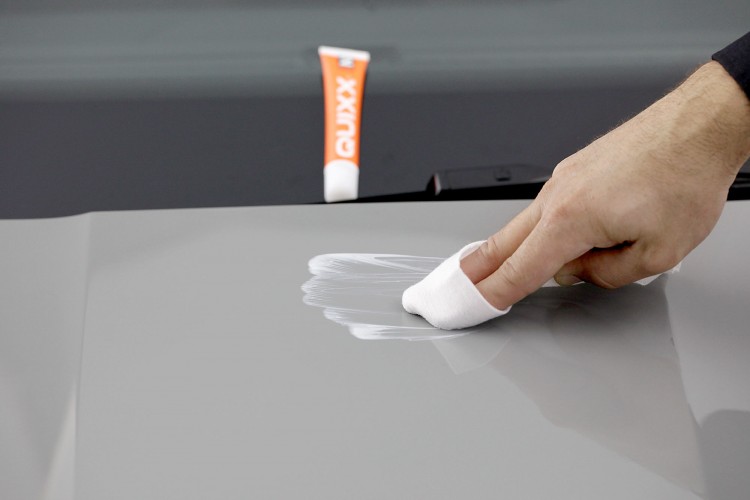
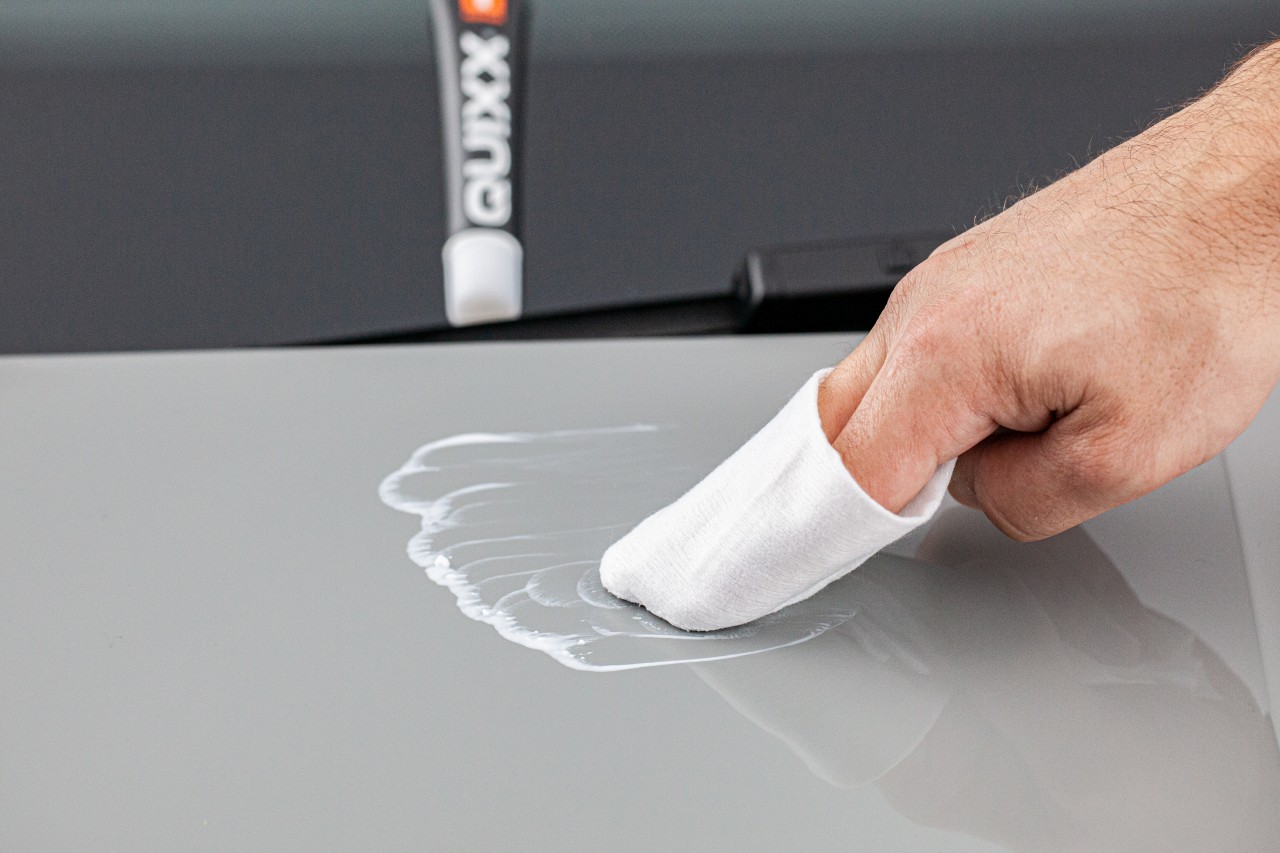
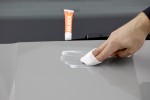
2. Remove any water and abrasive residues left over from Step 1. Apply a little QUIXX Repair No. 1 to the scratch. Now polish the scratched area for about two minutes using QUIXX Repair No. 1 and the first polishing cloth applying firm pressure and with a fast circular motion until all traces of the scratch have completely disappeared.
3. Now it's time for polishing: Using the QUIXX Repair No. 2 paste and special polishing cloth polish the repaired area for about two minutes applying firm pressure and using a fast circular motion. Tip: The greater the pressure that is applied during the polishing process the better and faster the QUIXX Repair system polishing pastes will work.
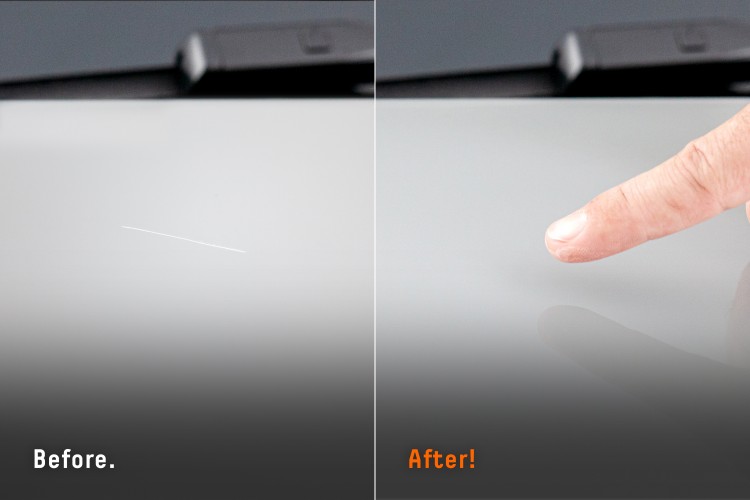
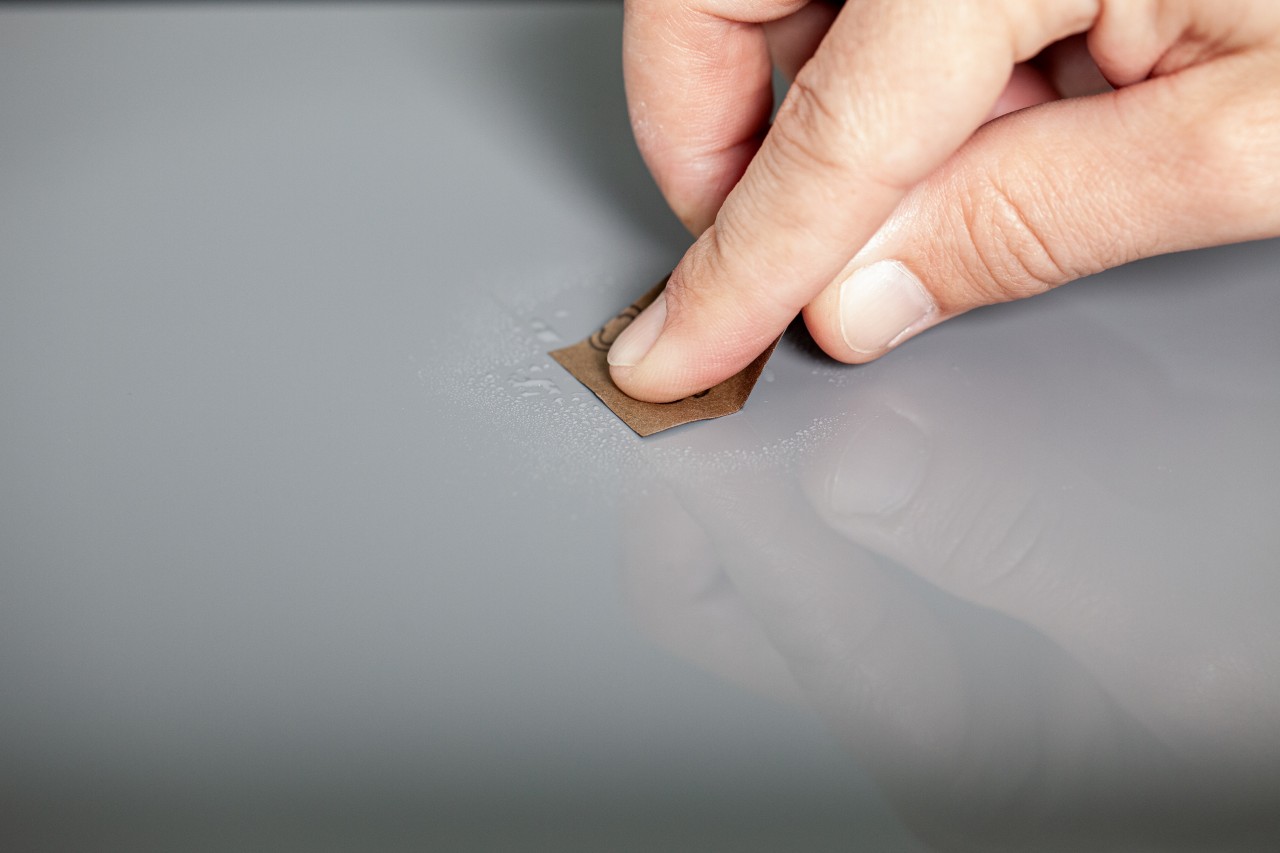
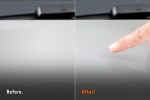
4. Inspect the result. The area that was damaged should now have regained its original beauty and truly shine. If necessary, reapply from step 1 or 2. Take care when treating the damaged area with the sandpaper. Never abrade the same spot for more than 15 seconds or rub down to the primer.